

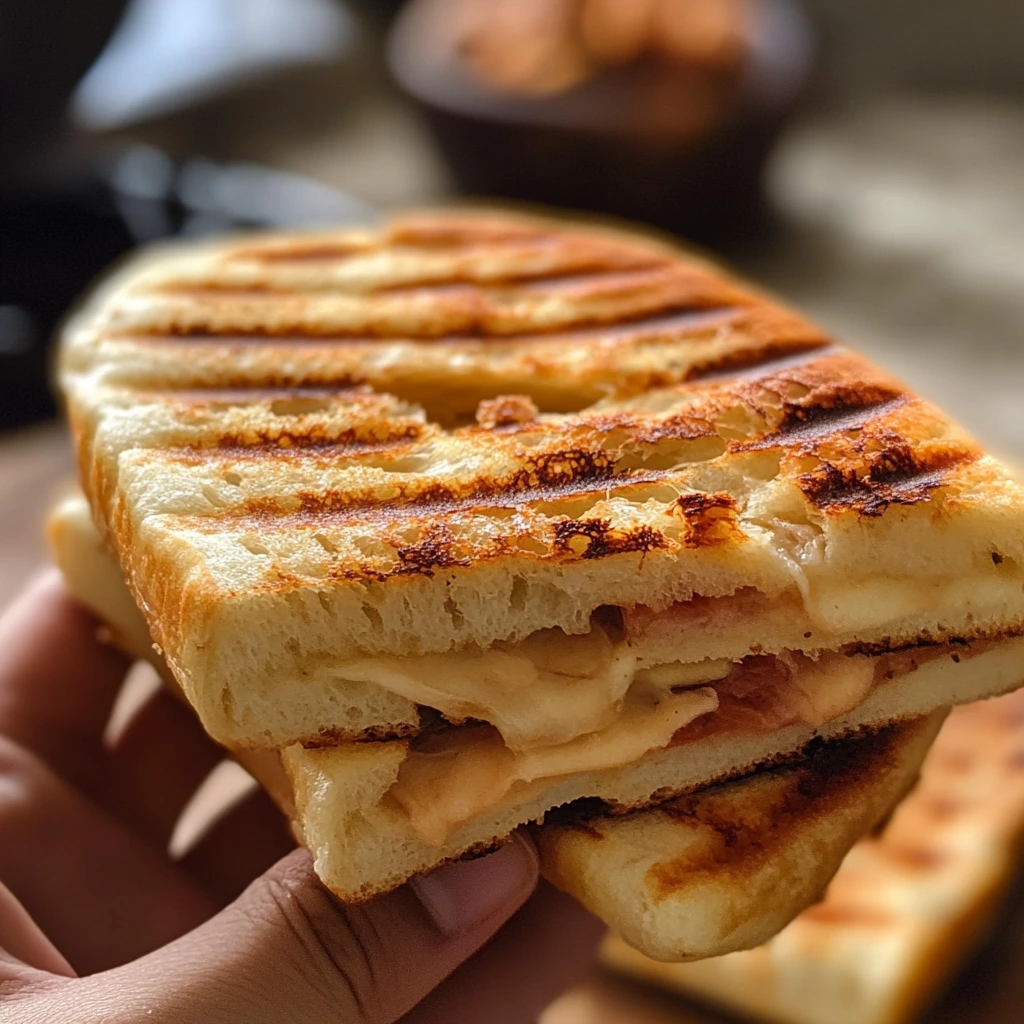
If you love paninis—the crispy, pressed sandwiches filled with melty cheese, savory meats, and fresh veggies—then you know the star of the show isn’t just the filling. It’s the bread! Panini bread needs to strike the perfect balance: crispy on the outside, soft and airy on the inside, and sturdy enough to hold your delicious fillings without getting soggy or falling apart.
The good news? You don’t need to rely on store-bought panini bread or expensive artisanal loaves. You can make your own perfect panini bread right in your kitchen with just a handful of simple ingredients and a little bit of patience. In this post, we’ll walk you through a tried-and-true recipe that yields soft, chewy, and delightfully crispy panini bread every time.
Table of Contents
Why Make Your Own Panini Bread?
Store-bought bread can be convenient, but often it doesn’t have the right texture or flavor that makes a panini truly special. Many commercial breads are too soft, too dense, or too sweet. Homemade panini bread gives you control over the ingredients, texture, and size, and it tastes fresher.
Plus, baking your own bread can be incredibly satisfying! The smell of fresh bread baking in your oven is unbeatable, and you’ll impress your family and friends with a sandwich that feels like it came from a gourmet deli.
What Makes the Perfect Panini Bread?
Panini bread is typically an Italian-style bread, similar to ciabatta or focaccia, but it can also be a sturdy white bread with a crispy crust. Here are the qualities you want in panini bread:
- Crispy crust: The outside should toast up nicely when pressed, adding crunch to each bite.
- Soft, airy interior: The inside needs to be light enough to complement your fillings but strong enough not to get mushy.
- Good structure: The bread should hold together well during grilling without falling apart.
- Mild flavor: The bread should have a subtle taste that pairs well with savory and cheesy fillings without overpowering them.
Ingredients You’ll Need
The great thing about panini bread is it’s simple and uses basic pantry staples:
- All-purpose flour (or bread flour for more chewiness)
- Warm water
- Active dry yeast
- Olive oil (for flavor and softness)
- Salt
- A touch of sugar (to feed the yeast and promote browning)
Step-by-Step Panini Bread Recipe
1. Activate the yeast
In a small bowl, combine warm water (about 100-110°F or 37-43°C) with a teaspoon of sugar and the active dry yeast. Stir gently and let it sit for 5-10 minutes until it becomes foamy. This means your yeast is alive and ready to work.
2. Mix the dough
In a large mixing bowl, combine the flour and salt. Make a well in the center and pour in the yeast mixture and olive oil. Stir everything together with a wooden spoon or your hands until a rough dough forms.
3. Knead the dough
Turn the dough onto a lightly floured surface and knead it for about 8-10 minutes until it becomes smooth and elastic. If you’re using a stand mixer with a dough hook, knead on medium speed for about 5-6 minutes.
4. First rise
Place the dough in a lightly oiled bowl and cover it with a clean kitchen towel or plastic wrap. Let it rise in a warm, draft-free spot for about 1 to 1.5 hours, or until it doubles in size.
5. Shape the dough
Punch down the risen dough to release the air. Divide it into equal portions depending on how large you want your panini bread to be. Shape each portion into an oval or rectangular loaf, roughly 6-8 inches long.
6. Second rise
Place the shaped dough on a parchment-lined baking sheet or a lightly floured surface. Cover it loosely and let it rise again for about 30-45 minutes, until slightly puffy.
7. Preheat the oven
Preheat your oven to 450°F (230°C). Place a baking stone or an inverted baking sheet in the oven if you have one — this helps create a crisp crust.
8. Bake with steam
Before baking, score the tops of your loaves with a sharp knife to allow steam to escape. You can create steam in the oven by placing a small pan of water on the bottom rack or spraying water inside the oven just before placing the bread in. This steam is key for a crispy crust.
Bake the bread for 20-25 minutes or until the crust is golden brown and sounds hollow when tapped on the bottom.
9. Cool completely
Let the panini bread cool on a wire rack for at least 30 minutes before slicing. This prevents the bread from becoming gummy inside.
Tips for Perfect Panini Bread Every Time
- Use bread flour if possible: Bread flour has a higher protein content which gives your bread better structure and chewiness.
- Don’t skip the steam: Steam helps develop that beautiful crispy crust panini bread is known for.
- Watch your oven temperature: A hot oven is essential for good rise and crust.
- Experiment with hydration: Slightly wetter dough can create airier crumb but is trickier to handle. Don’t be afraid to adjust water slightly.
- Store properly: Keep leftover bread in an airtight container or freeze for longer storage. Toast before using to revive crustiness.
How to Use Your Homemade Panini Bread
Once your panini bread is ready, the possibilities are endless. Use it for:
- Classic ham and cheese paninis with mustard or pesto
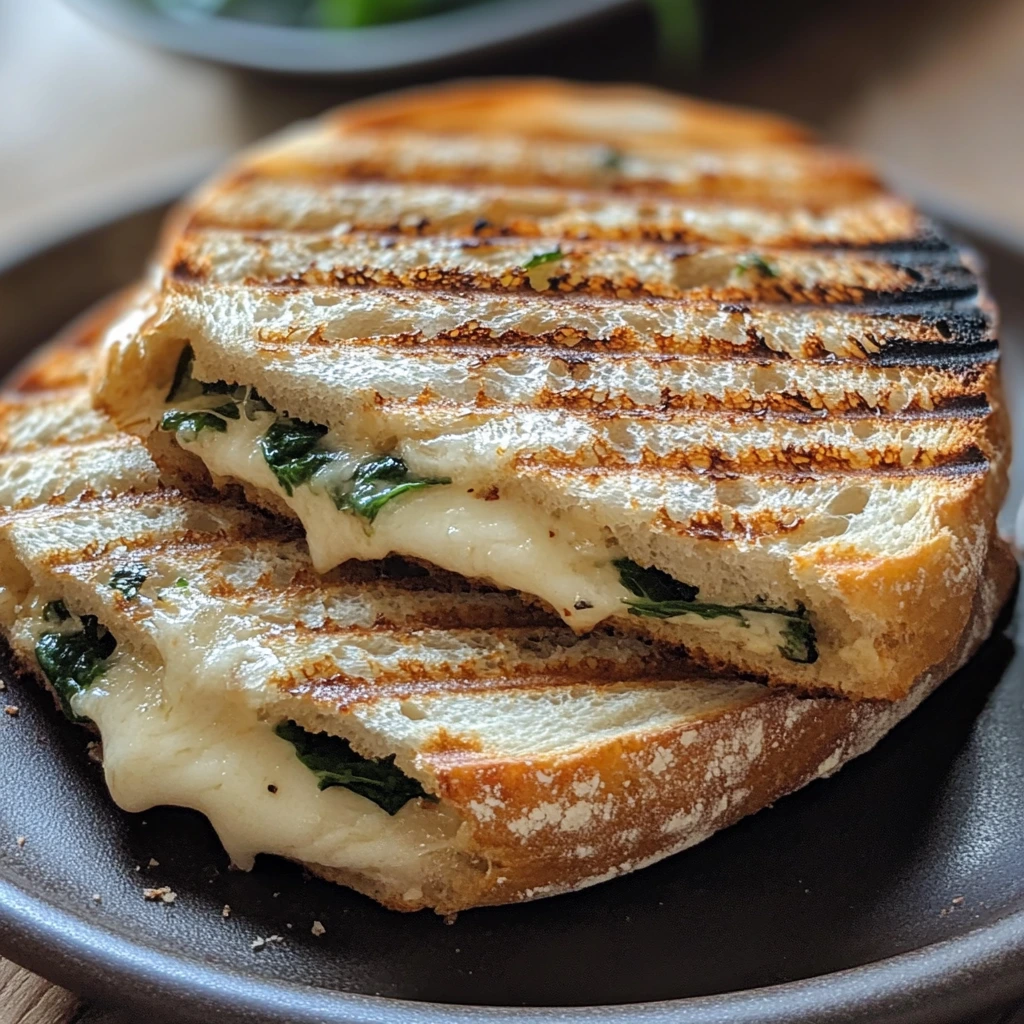
- Grilled veggie and mozzarella sandwiches
- Turkey, cranberry, and brie paninis for a gourmet touch
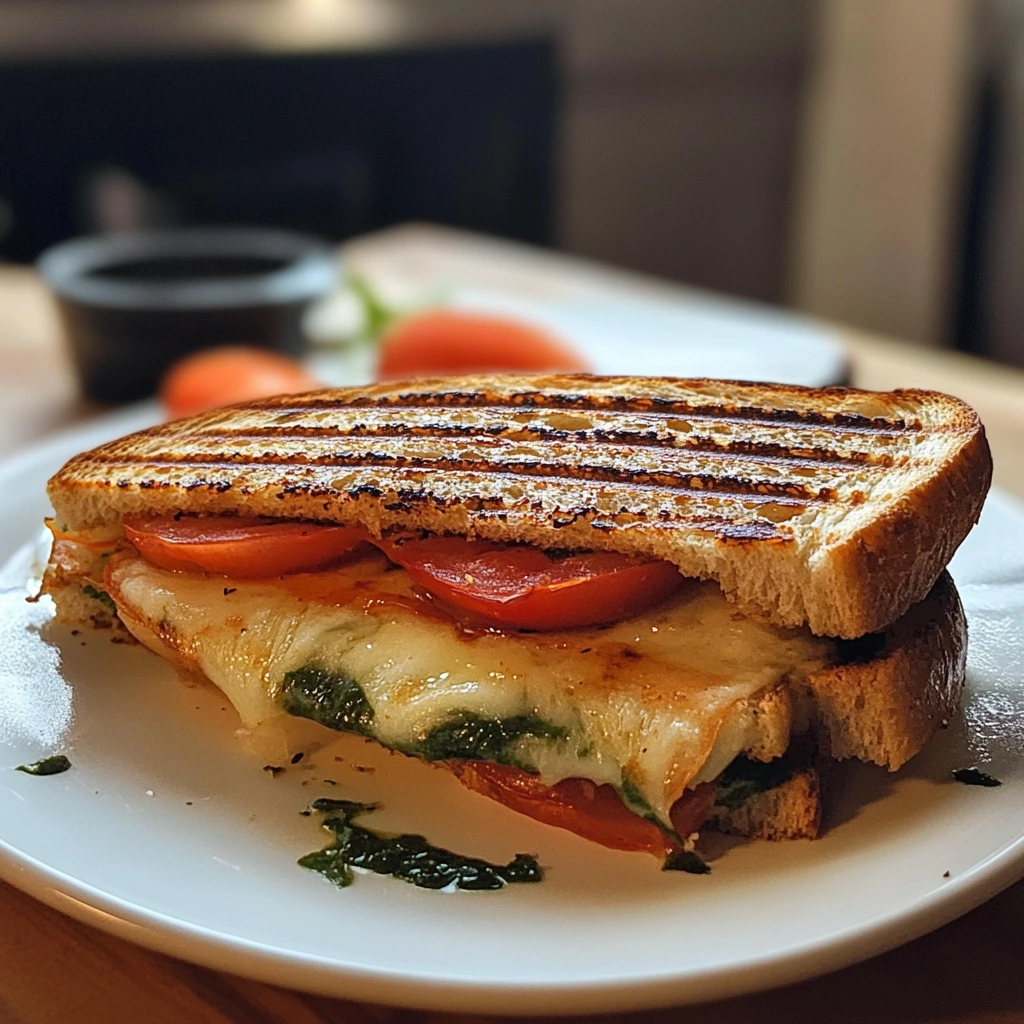
- Caprese paninis with fresh basil, tomato, and mozzarella
- Breakfast paninis stuffed with eggs, bacon, and cheese
Grill your sandwich in a panini press or on a skillet with a heavy pan on top for that perfect crispy, melty bite.
Final Thoughts
Making panini bread at home is easier than you think and worth the effort for the flavor and texture it adds to your sandwiches. This recipe provides a perfect balance of crisp crust and soft crumb — the ideal canvas for your favorite fillings.
Give it a try, and you’ll never want to buy store-bought panini bread again!
2 thoughts on “Perfect Panini Bread Recipe: How to Make Crispy, Soft Panini Bread at Home”