
Rock candy is not only a nostalgic treat but also a fun science experiment you can eat! This easy rock candy recipe lets you create vibrant sugar crystals at home, customizable with colors and flavors. It’s also a great way to teach kids about supersaturated solutions. In this comprehensive guide, you’ll learn how to make rock candy step-by-step, troubleshoot common problems, and explore exciting flavor and color combinations.
What Is Rock Candy?
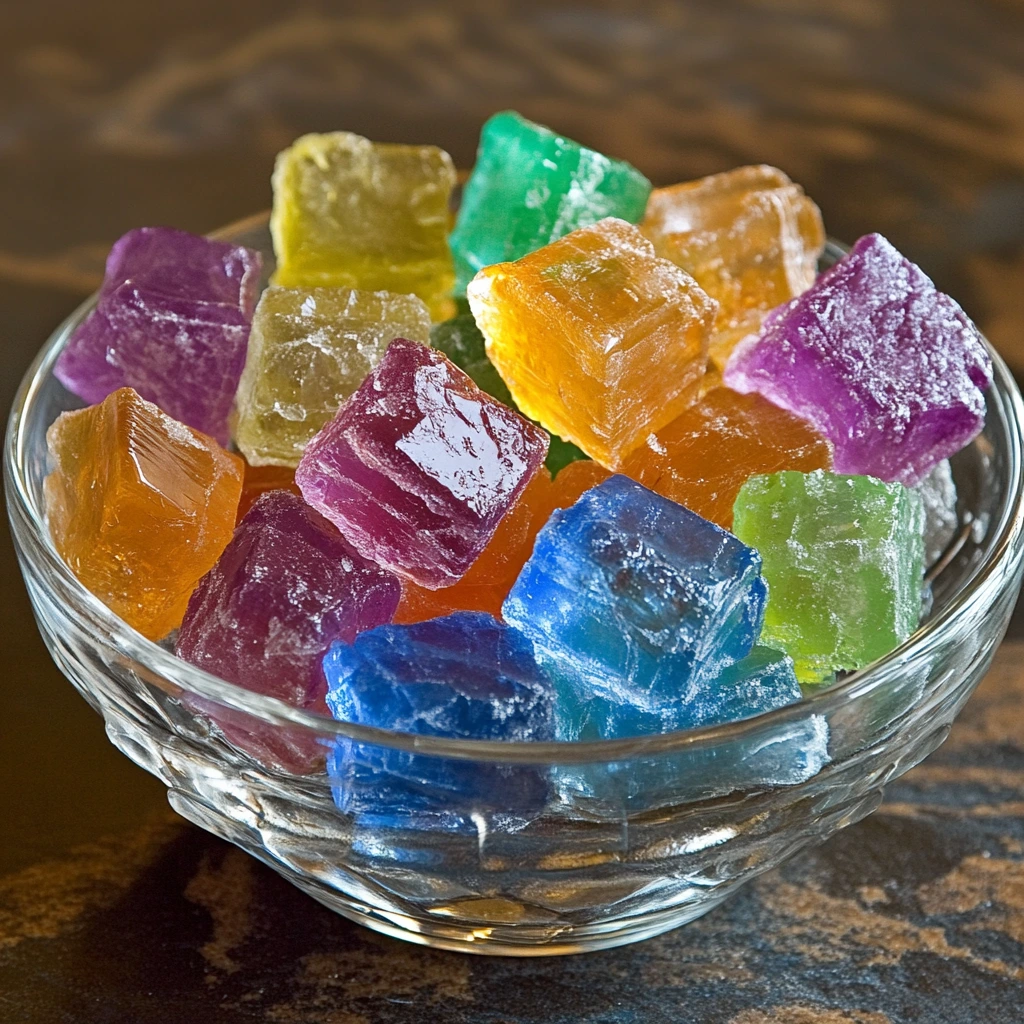
Rock candy is crystallized sugar formed from a supersaturated sugar solution. When sugar water cools and evaporates over several days, sugar molecules begin to form solid crystals around a stick or string, creating a delicious and sparkly treat. Rock candy is popular at parties, as gifts, or simply as a fun DIY project.
Ingredients You’ll Need
The basic rock candy recipe only requires a few ingredients:
- 2 cups of water
- 5 cups of granulated white sugar
- Food coloring (optional)
- Flavor extracts (optional – e.g., vanilla, peppermint, lemon, cherry)
- Wooden skewers or cotton string
- Glass jars or cups
Optional:
- Clothespins or binder clips to suspend sticks or strings in the jars
Tools You’ll Need
- Saucepan
- Measuring cups
- Spoons
- Candy thermometer (optional but helpful)
- Funnel (optional for clean pouring)
- Clean jars or tall glasses
Step-by-Step Rock Candy Instructions
Step 1: Prepare the Sticks or Strings
Before making the sugar solution, get your crystal-growing surfaces ready.
- Wooden sticks: Dip the stick in water, then roll it in sugar. Let it dry completely. This seed layer gives crystals a surface to grow on.
- String method: Cut a clean piece of cotton string. Tie it around a pencil or stick and weigh the end down with a small washer or paperclip. Dip it in sugar water and let it dry completely.
Step 2: Make the Sugar Solution
- In a medium saucepan, bring 2 cups of water to a gentle boil over medium heat.
- Gradually add the 5 cups of sugar, about 1/2 cup at a time, stirring constantly.
- Keep stirring until all the sugar dissolves. You’re aiming for a supersaturated solution—meaning no more sugar can dissolve in the water.
- Once the sugar is fully dissolved and the liquid looks clear and thick, remove the pan from the heat.
- Add flavor extract (start with 1/2 to 1 teaspoon) and a few drops of food coloring, if desired.
Tip: Avoid stirring once off the heat to reduce the chance of early crystallization.
Step 3: Pour into Jars
- Allow the solution to cool slightly (about 10–15 minutes).
- Carefully pour it into the jars using a funnel or ladle.
- Insert your prepared sticks or strings. Use clothespins or clips to hold them centered, making sure they don’t touch the bottom or sides.
Step 4: Let Crystals Grow
- Place the jars in a cool, dry place, undisturbed.
- Crystals will begin to form in 3 to 7 days.
- The longer you leave them, the larger the crystals will grow.
Important: Cover jars with a paper towel or plastic wrap to keep dust out.
Step 5: Remove and Dry
- Once your candy has reached the desired size, remove it from the solution.
- Let the candy drip and dry for 1–2 hours on parchment paper or a drying rack.
- Store in an airtight container at room temperature.
Flavor Ideas for Rock Candy
Flavored rock candy recipe elevates this simple treat into a gourmet experience. You can mix and match food coloring with extracts to match a theme, holiday, or personal taste.
Popular Flavor and Color Combos
| Flavor | Food Coloring | Occasion |
|---|---|---|
| Cherry | Red | Valentine’s Day |
| Peppermint | Red or White | Christmas |
| Lemon | Yellow | Spring parties |
| Grape | Purple | Halloween |
| Orange | Orange | Fall festivals |
| Raspberry | Blue | Baby showers, winter events |
| Vanilla | Clear or pastel shades | Elegant gift jars |
| Coconut | White or pale blue | Beach or tropical themes |
| Watermelon | Pink | Summer treats |
| Bubblegum | Bright pink or blue | Kids’ birthday parties |
Creative tip: Mix a few drops of different food coloring to create custom hues like teal, lavender, or coral.
Tips for Success
- Use clean jars and tools: Any dirt or residue can affect crystal formation.
- Avoid stirring once cooled: Movement can interrupt crystal growth.
- Add more sugar if needed: If the sugar isn’t dissolving easily, the water may be too cold. Reheat gently.
- Humidity matters: Avoid making rock candy on humid days. Crystals grow best in dry environments.
- Use distilled water for clearer crystals.
- Make multiple batches: Try different flavors and colors in separate jars for variety.
Common Troubleshooting
| Problem | Solution |
|---|---|
| No crystals forming | Check that the sugar solution was fully saturated. Make sure seed crystals were used. |
| Crystals grow too slowly | Try a warmer environment or check for drafts that could disrupt evaporation. |
| Crystals form on the bottom or sides | Ensure stick or string isn’t touching the jar. |
| Cloudy crystals | Use distilled water and avoid over-boiling. |
Fun Variations
- Rainbow rock candy: Use several jars with different colors and layer them in a clear gift bag.
- Rock candy lollipops: Attach sticks to candy molds or keep them short for handheld treats.
- Rock candy drink stirrers: Use rock candy sticks to sweeten tea, cocktails, or lemonade.
How to Store Rock Candy
- Let your rock candy dry completely before storing.
- Place in an airtight container or cellophane bags to keep moisture out.
- Keep at room temperature, away from heat or direct sunlight.
- Properly stored, it can last for months.
Educational Benefits
Making rock candy is not only fun—it’s also educational:
- Teaches chemistry (solubility, saturation, crystal formation)
- Encourages patience
- Promotes creativity in flavor and color combinations
- Perfect for science fair projects or homeschool lessons
Final Thoughts
Homemade rock candy is a blend of science, creativity, and sweetness. Whether you’re crafting it for fun, gifting it for a special occasion, or simply indulging in a nostalgic treat, mastering rock candy is a rewarding and delicious DIY experience.
Experiment with bold flavors like cinnamon or lavender, mix up color combinations to fit your event, and most importantly—enjoy the process and the result!ur favorite flavors, and start growing your own colorful crystals today!
1 thought on “How to Make the Best Rock Candy Recipe with Flavor Ideas”